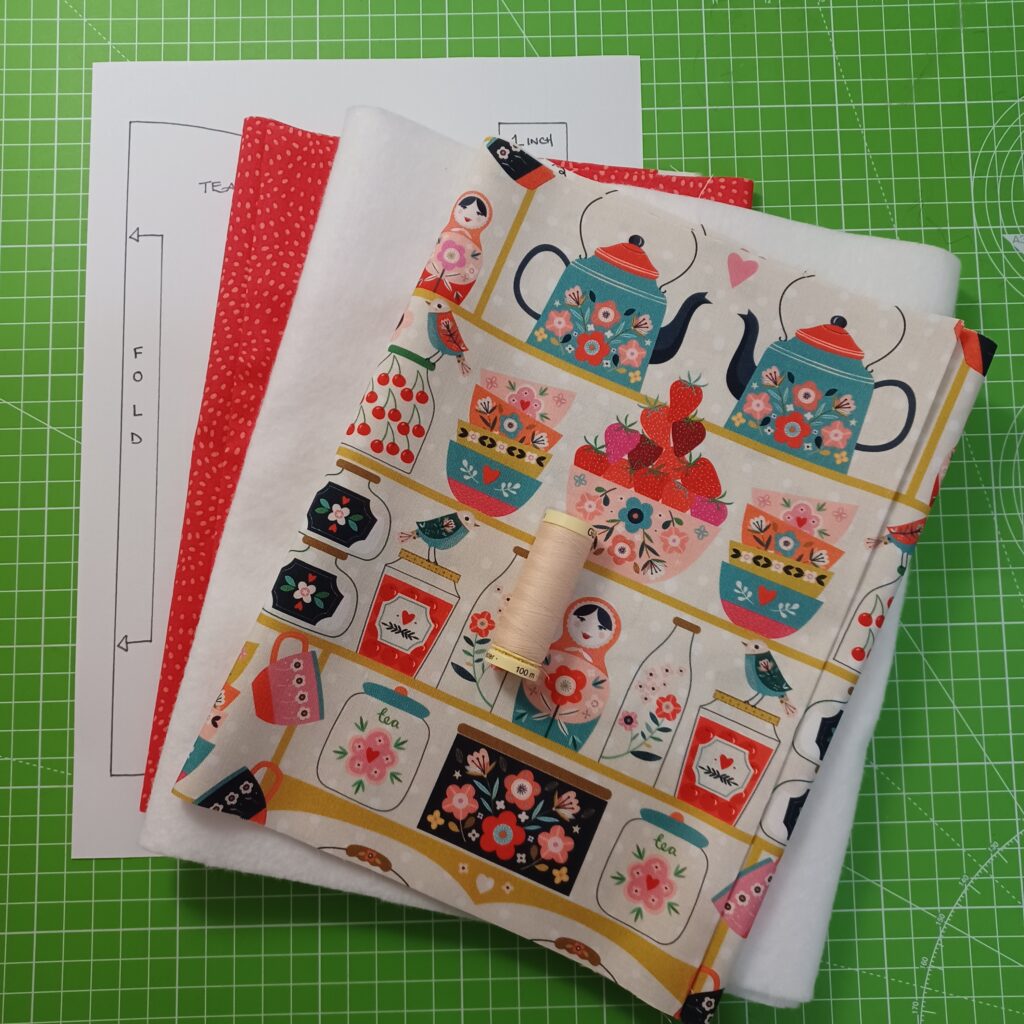
You’ll need :
10″ of outer fabric x width of fabric (WOF)
10″ of lining fabric x WOF
10″ of thermolam (great for it’s thermal properties of keeping things warm) or any other wadding you have.
1 qty 1″ x 5″ of fabric for the hanging loop (either outer or lining fabric)
Thread to coordinate with your outer fabric
Seam allowance : we just used the edge of our sewing foot, just under 1/2″ inch.
Purchase your supply kit HERE (while stocks last.)
Print and cut out template CLICK HERE. (You could print out 2 copies and tape them together to make one complete shape, save you having to fold your fabric when cutting out.)
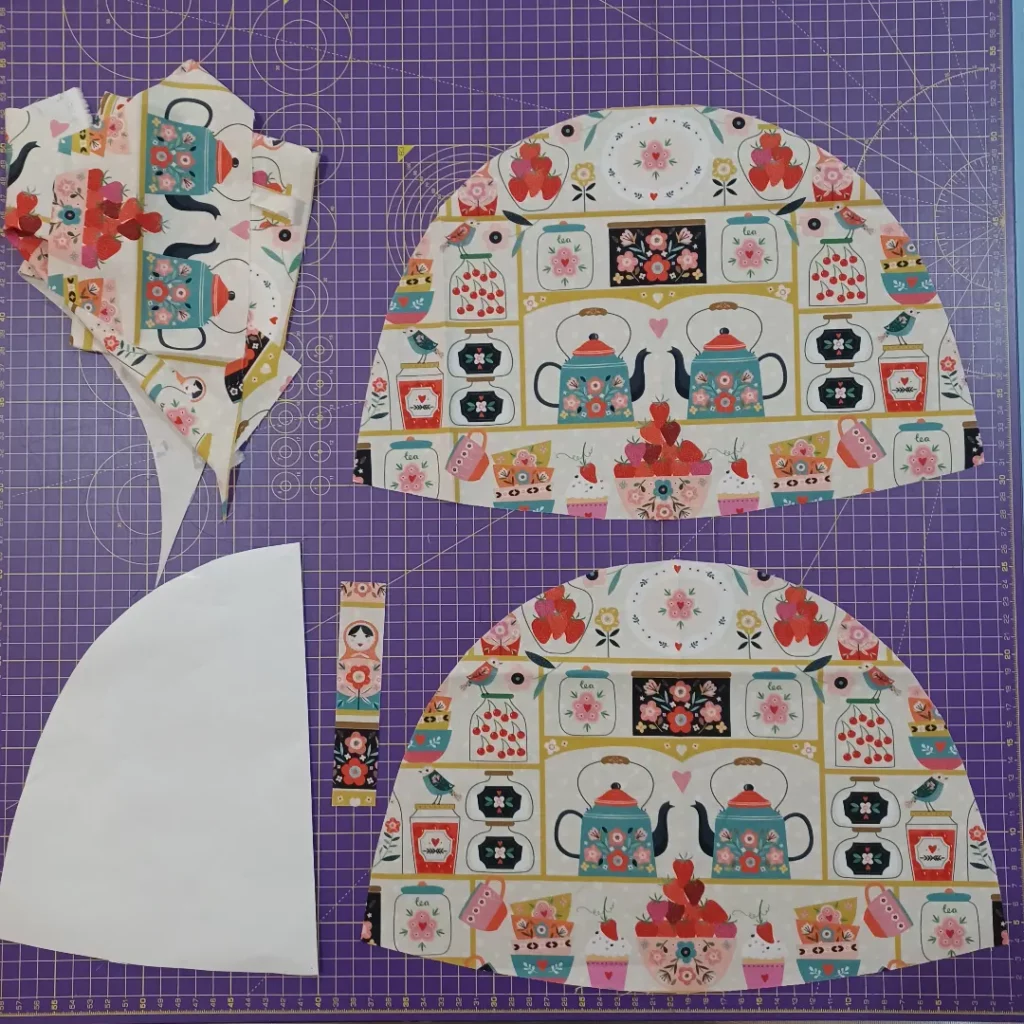
Fold your fabric, placing the template on the fold, cut out.
For *fussy cutting (*when you intentionally cut a piece of fabric to feature a specific image) the tea pots in the centre, fold the fabric exactly in between the tea pots, folding the above and below hearts in half too.
Repeat with the wadding ( cutting out the wadding the templates will be side by side – not facing as we have pictured). Cut out the lining pieces too, rather than using the half paper template you could use your outer cut piece, lay out flat and cut around.


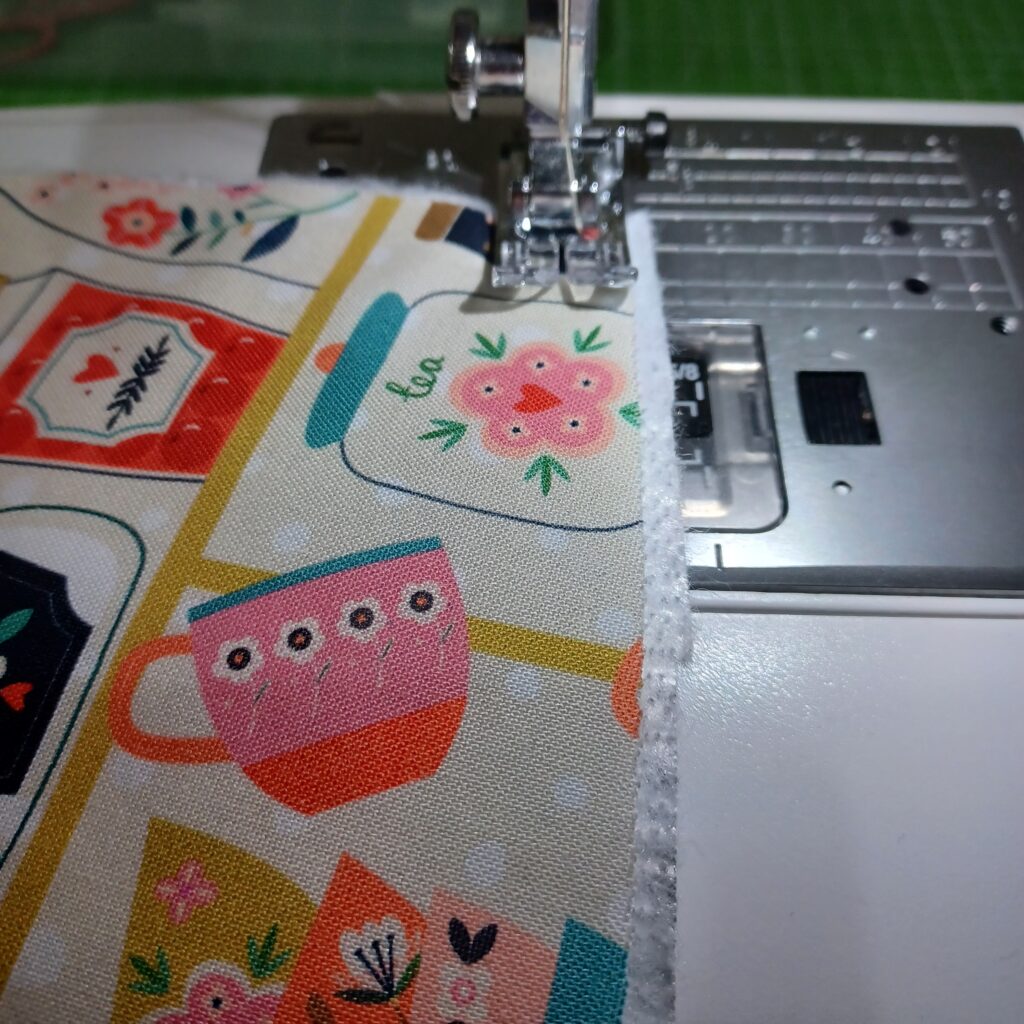
Lay down one piece of wadding, with one outer fabric on top, right side facing up. place a few pins around the outer edge to hold. You want to quilt these together. Increase your stitch length to 3 or 3.5 to quilt.
We used the bottom curved edge as a guide for our first quilt line, then quilt about an inch away from that each time, until you reach the top. Use a quilt guide if you have one and if you have a walking foot, put it on. You could draw or chalk lines to follow, or just do some free motion.
Repeat to quilt the other side too.
Trim any wadding which is larger than the outer fabric.
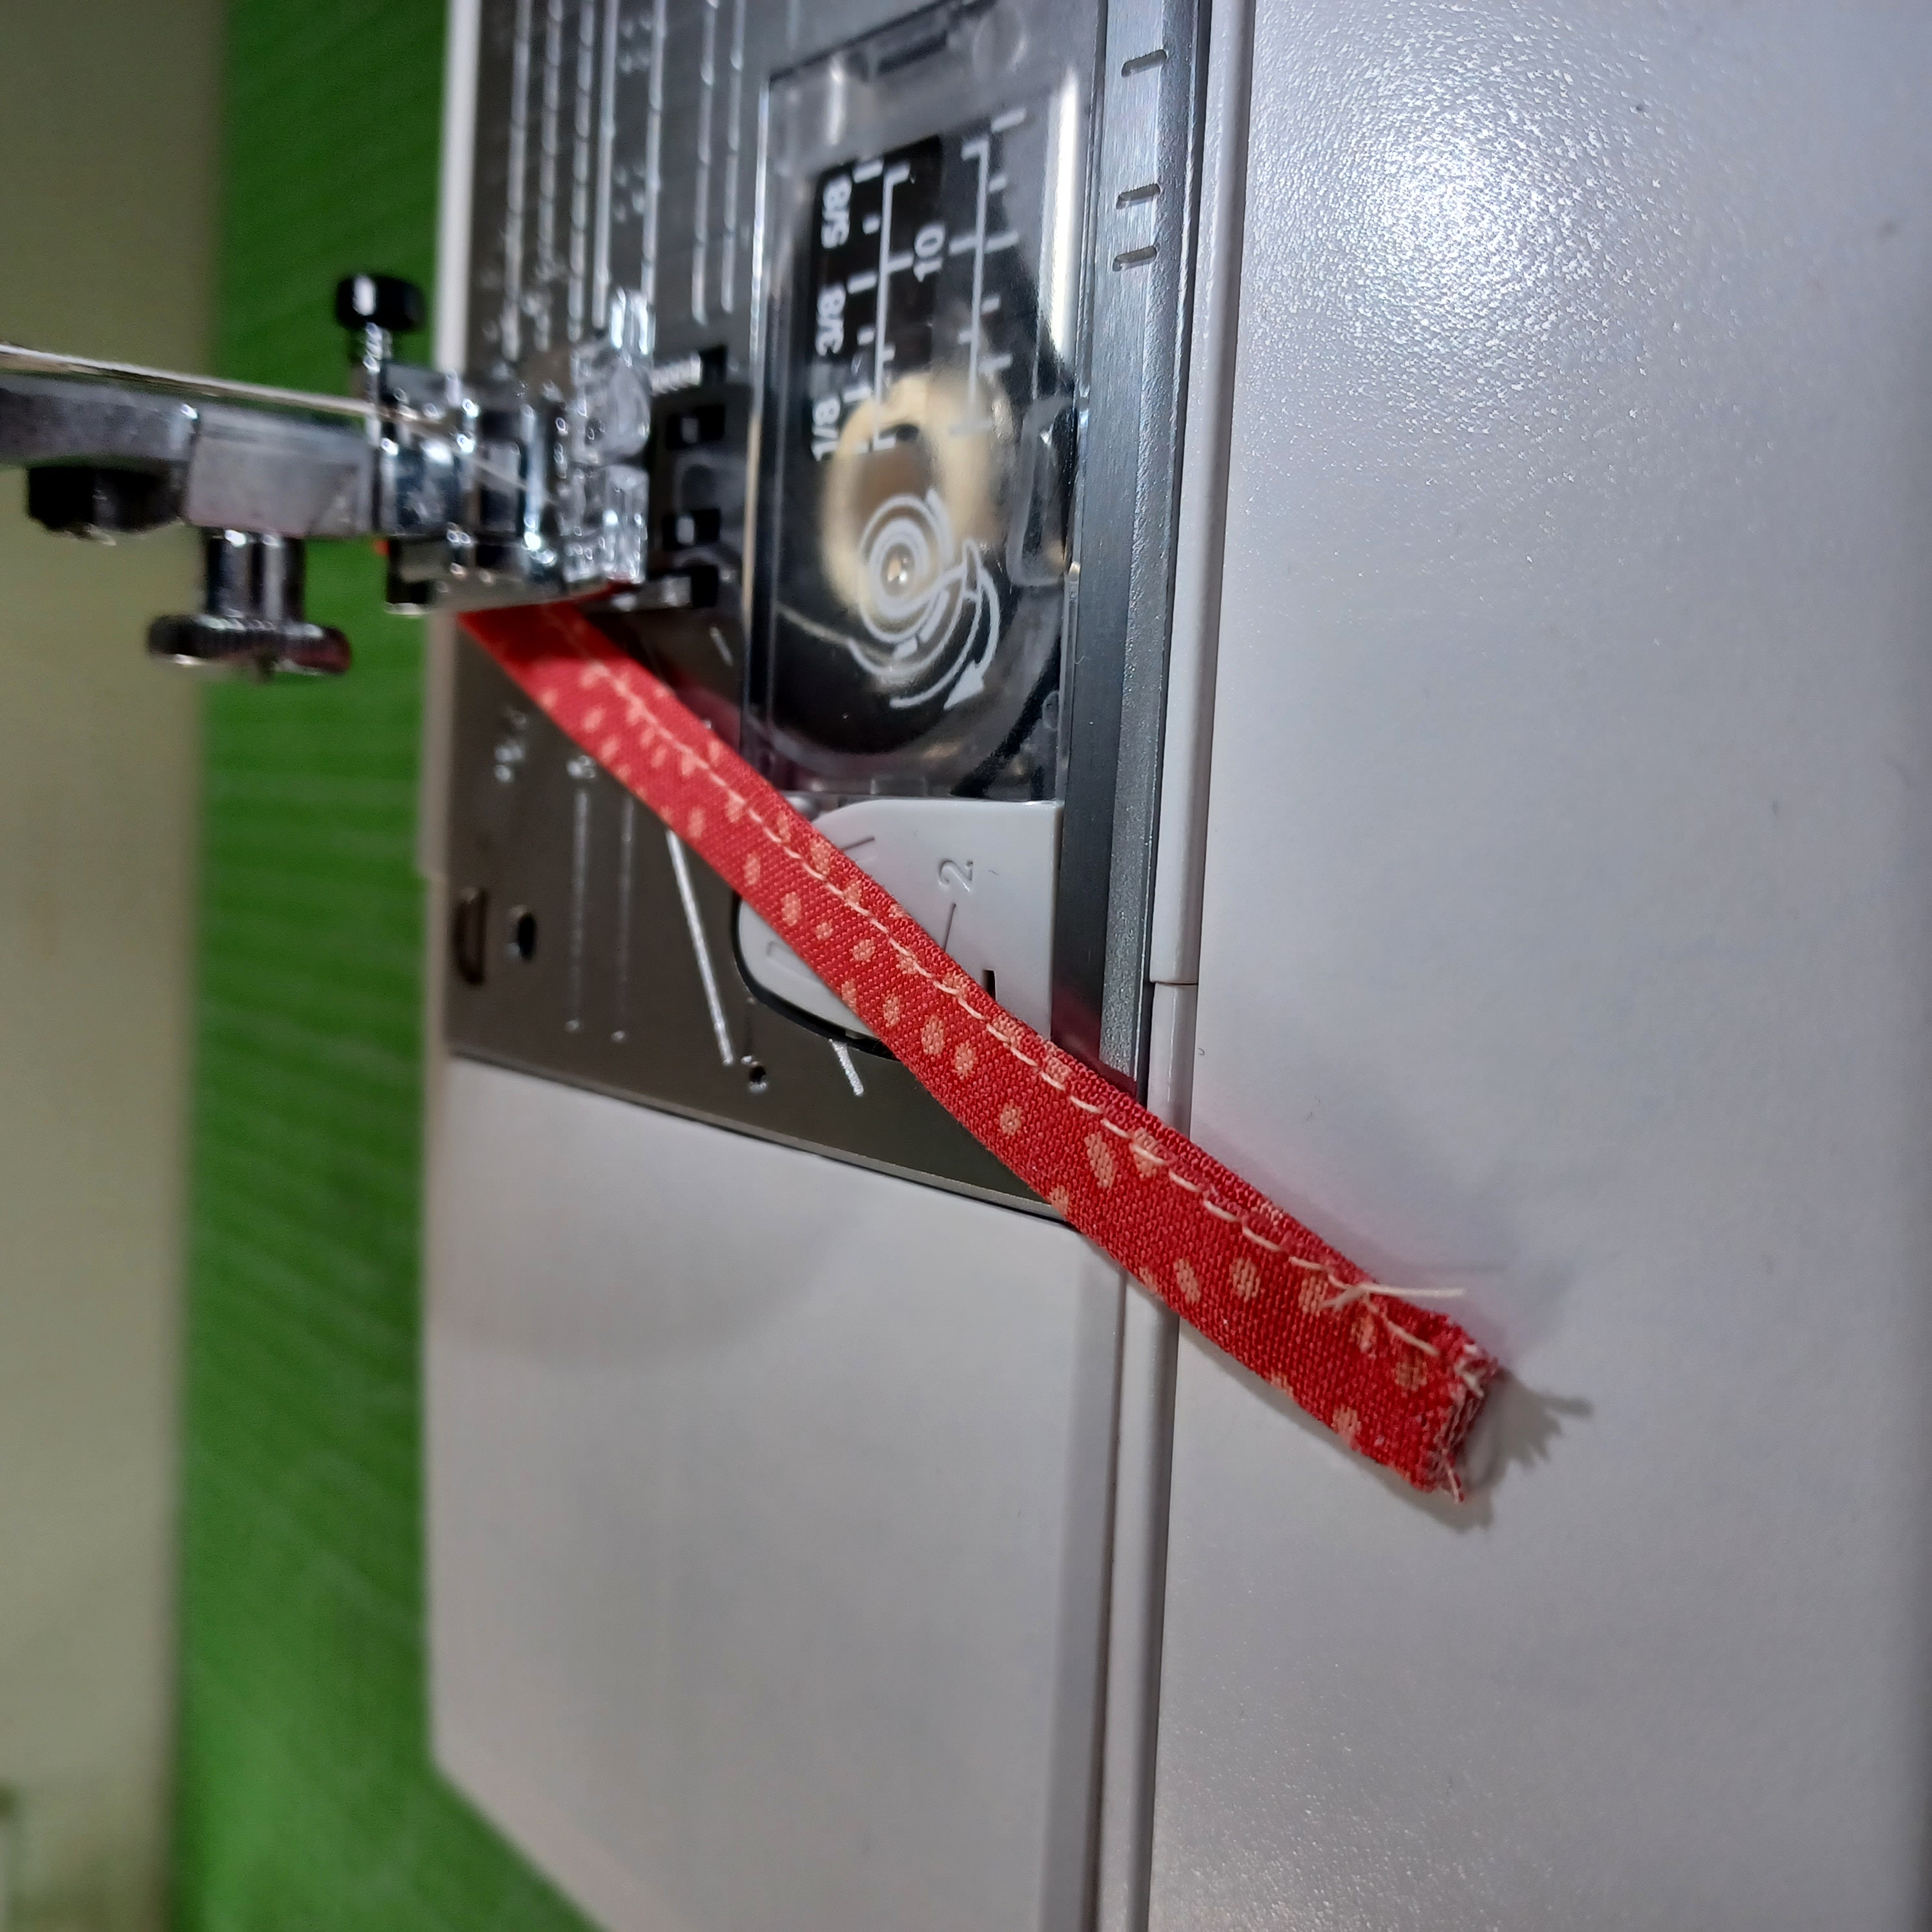
Fold you loop, wrong sides together, in half lengthways. Open out and press the long edges into the centre crease. Press again, giving you a folded piece, 4 layers, 1/4″ in width x 5″ long. Sew the long open edge closed.


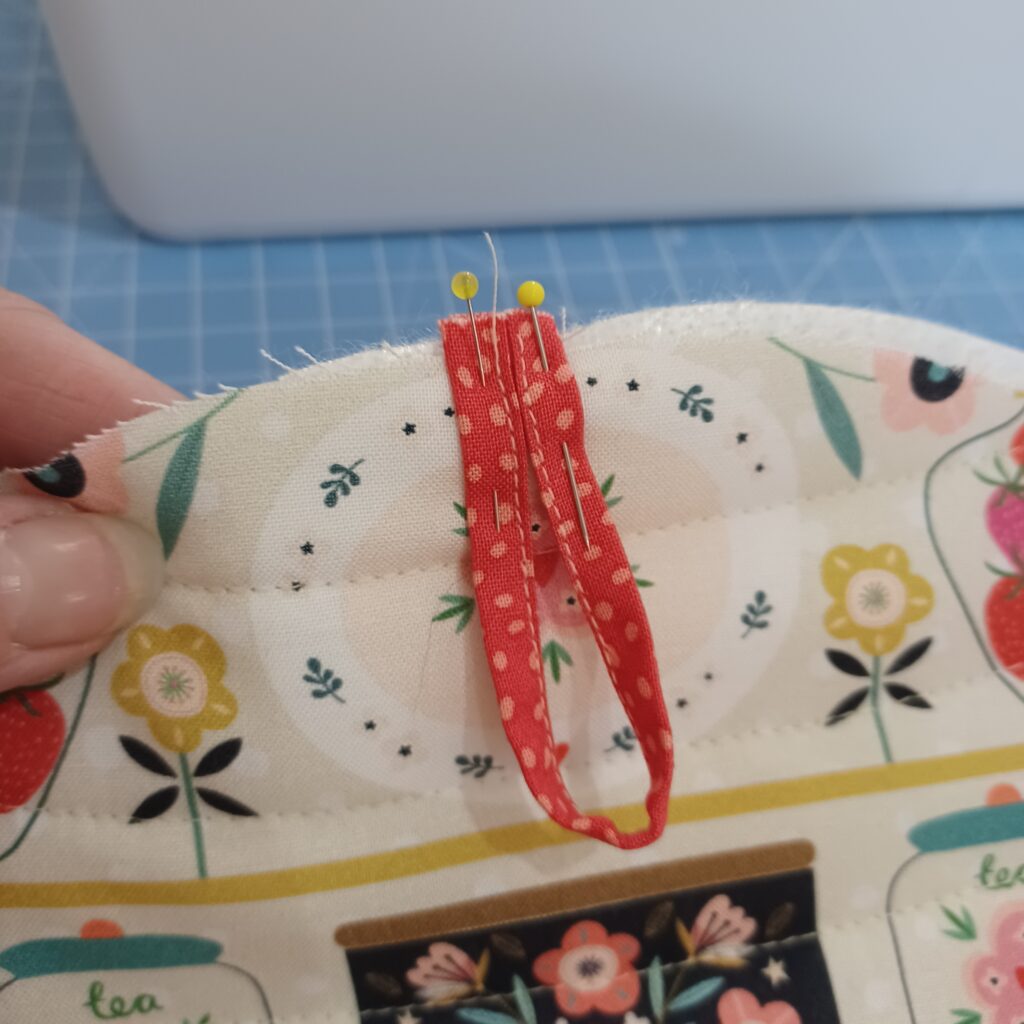
Fold the loop in half and pin the to centre top edge. Raw edges of the loop to the raw edge of the top of the tea cosy. Sew across the loop ends, close to the edge, to attach.
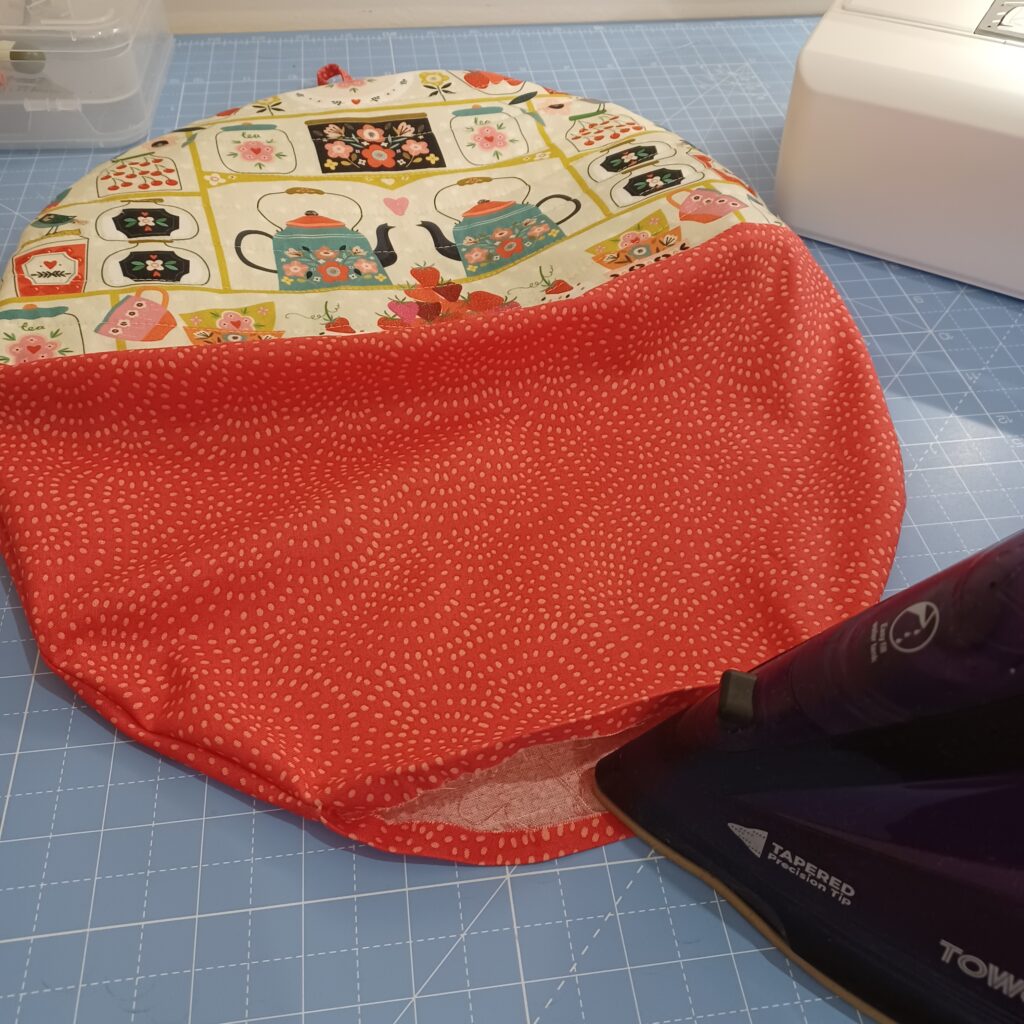
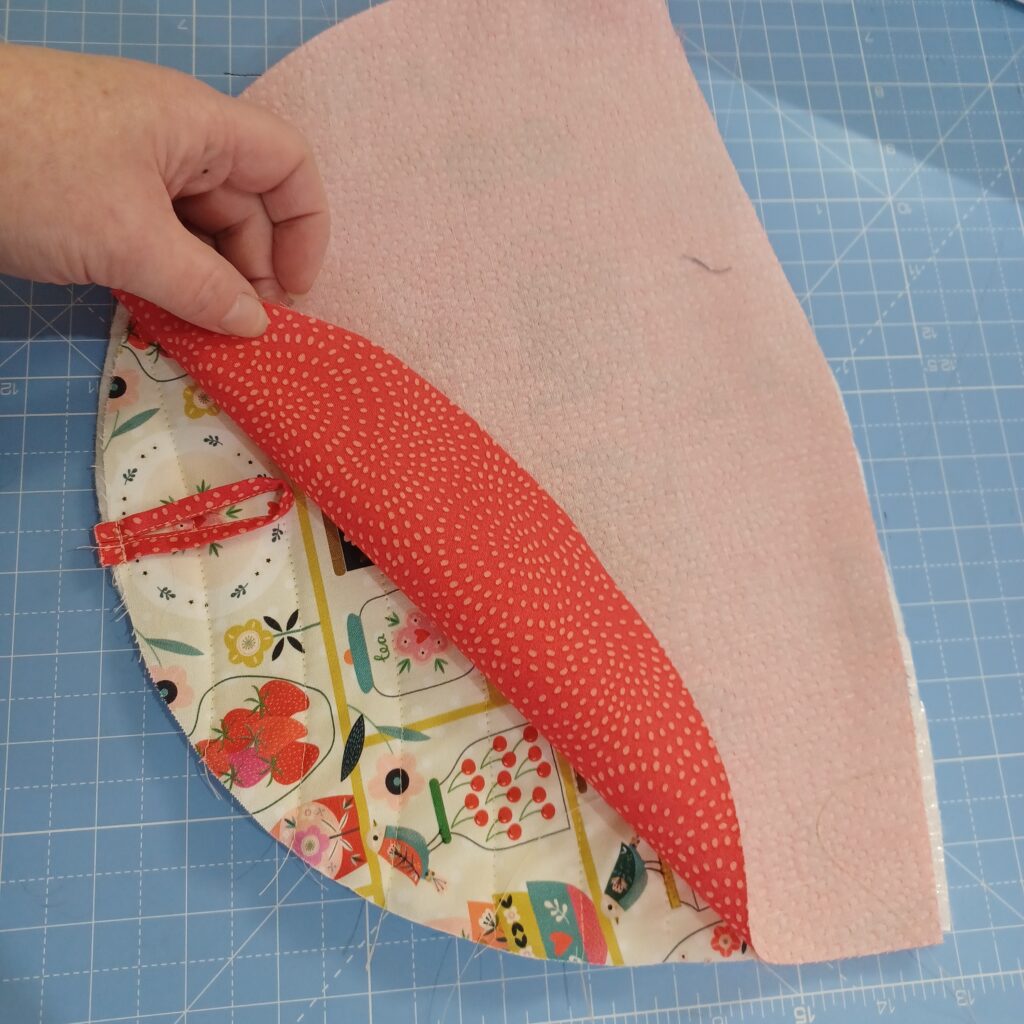
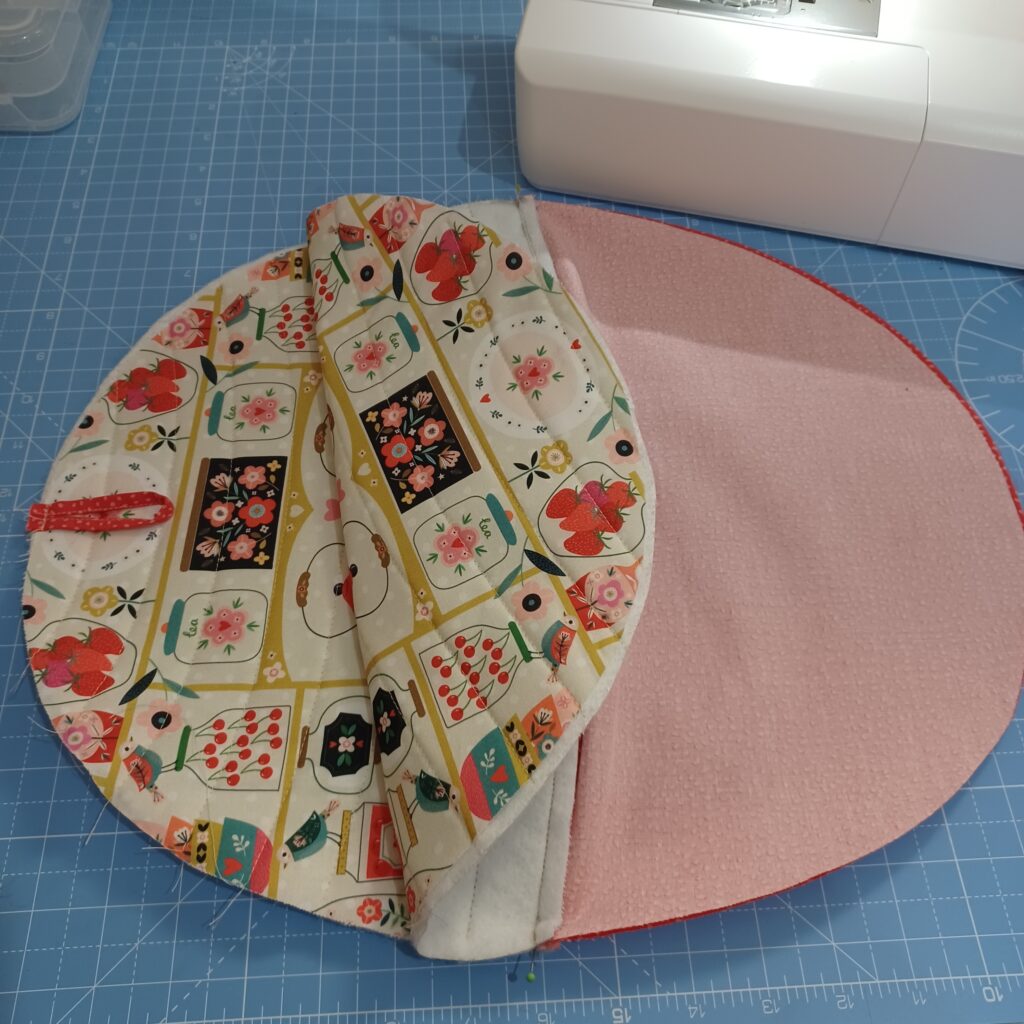
Adding your lining. Take one lining piece and lay it on top of your quilted front piece. Pin along the bottom curve and sew them together.
Repeat with the other side.
Lay the front and back on top of each other. Pin them together, matching up the seams where the outer and lining meet. Leave a gap in the lining for turning through, 4″ gap should do.
Best to leave the gap in the side area of the lining (not what I did!) rather than the more curved top as it will be easier to press in the seam allowance to prepare for sewing the gap closed.
Turn the tea cosy the right way round, through the gap. Press the seam allowance of the gap, towards the insides, either machine sew or hand sew closed. Tuck the lining back inside the cosy. Press the bottom edge, optional to top stitch around the bottom edge to keep the lining in place.
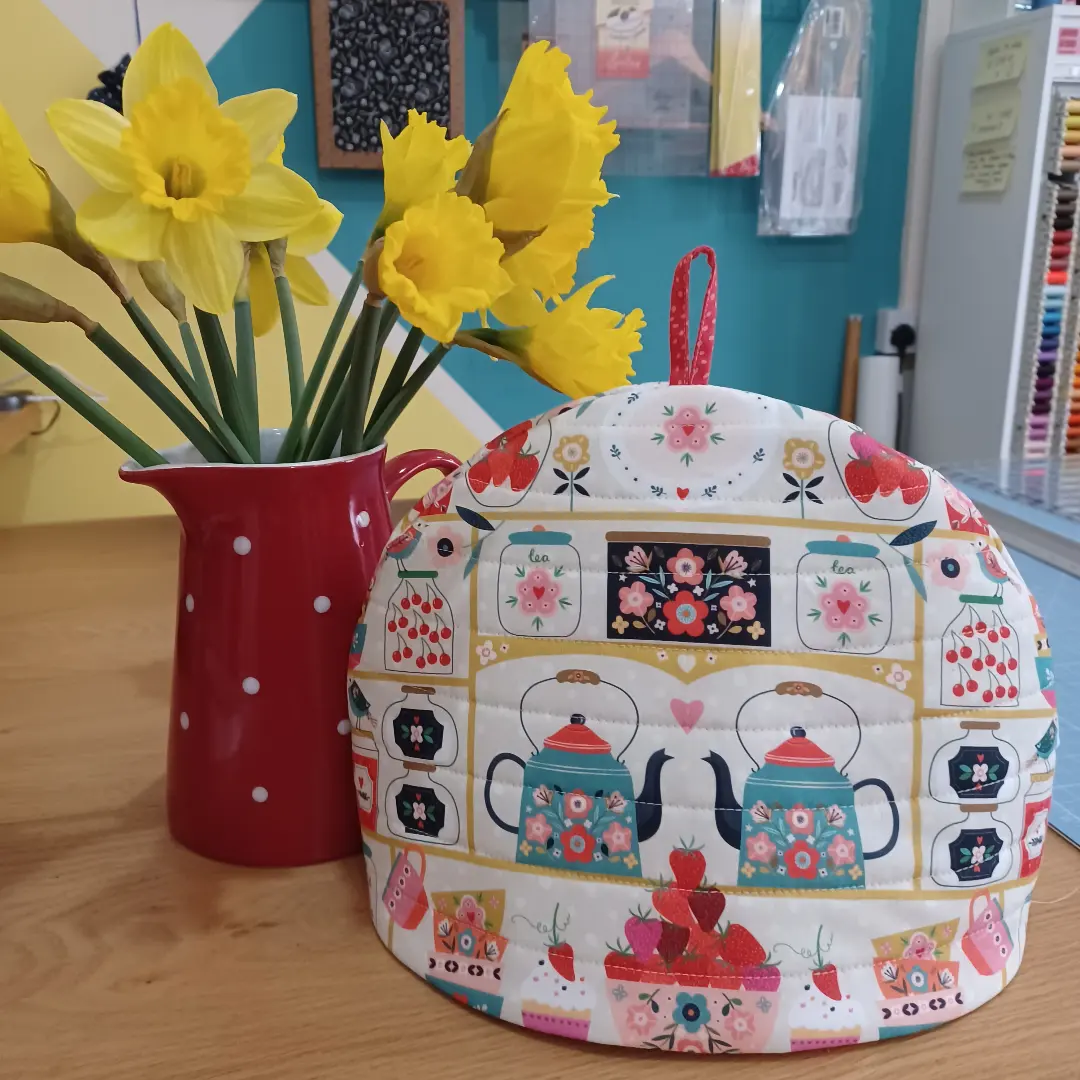
Enjoy your tea!
Did you like our free tea cosy instructions? Whilst our pattern is FREE, if you wish to contribute, we do have a ‘£3 THANK YOU’ here . It helps us continue to produce free content for you. We appreciate times are tough for everyone, not just for independent businesses, thank you from the bottom of our hearts for your continued support.
Marice & Fiona xx