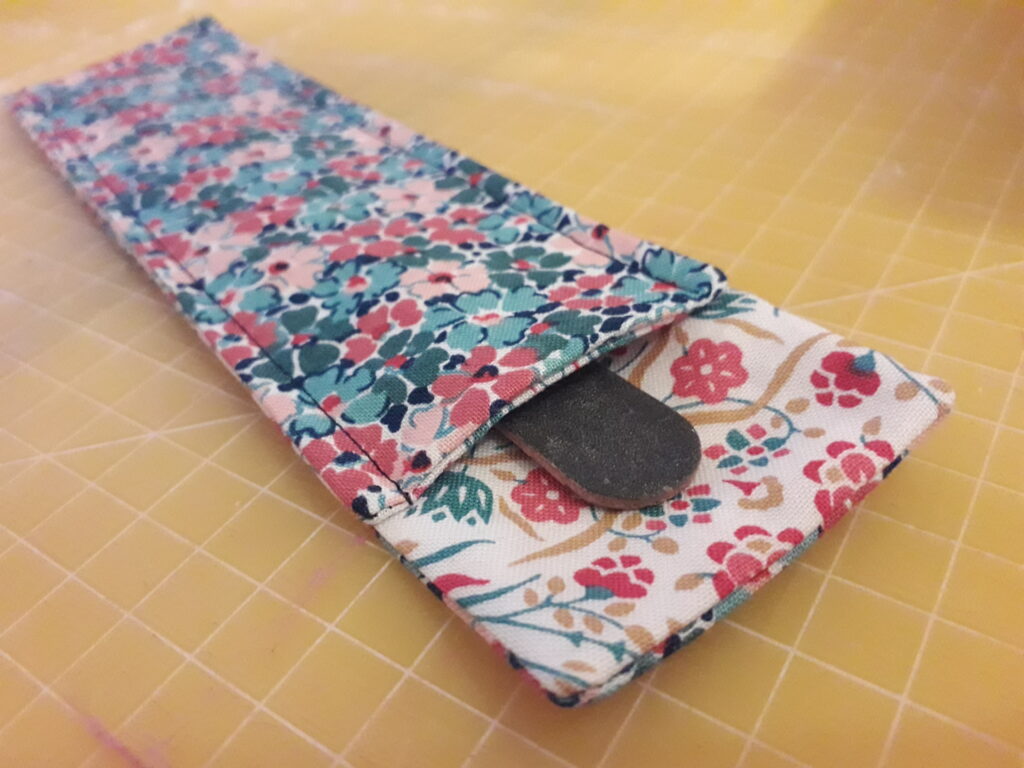
A simple design which can show of your favourite piece of fabric, whilst only using a minimal piece. Quick to whip up as a gift, especially when you are short of time.
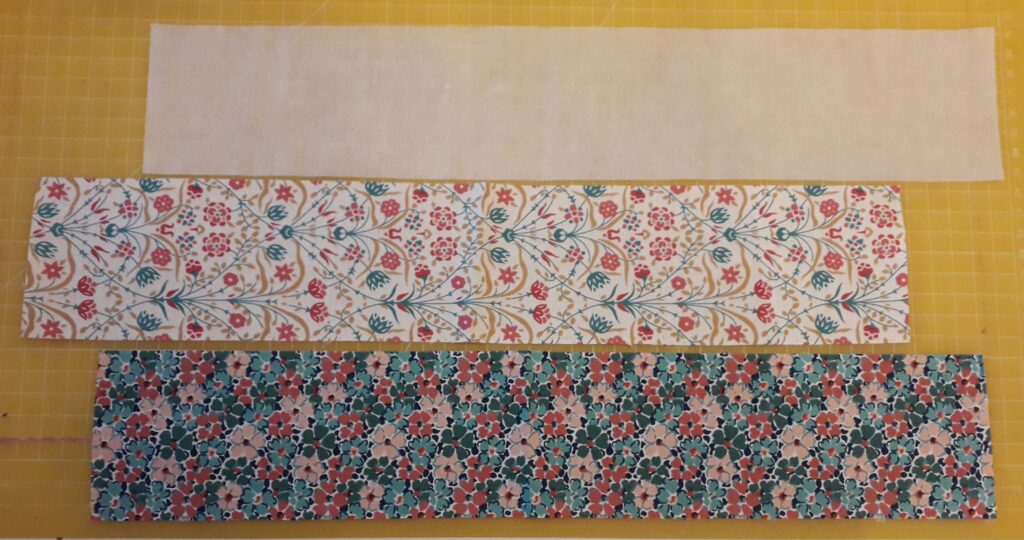
Supplies:
1 x outer fabric 16″x 3″
1 x inside fabric 16″x 3″
1 x light/medium weight interfacing 16″x 3″
You can buy your supplies from us here
(The supply kit makes 6 holders.)
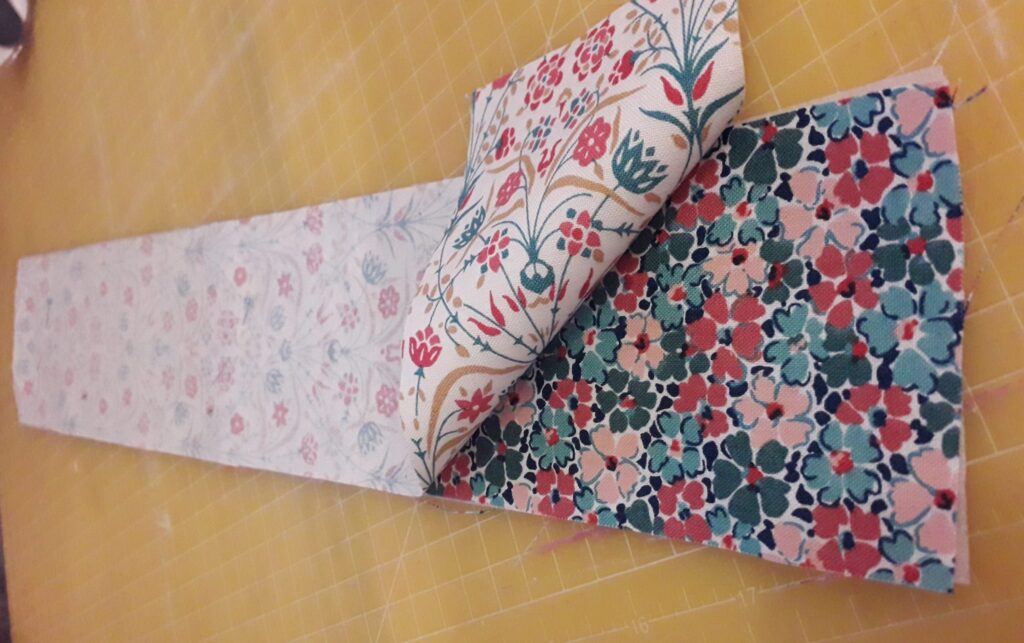
Iron interfacing to the reverse of your outer fabric. Place your fabric right sides together and pin.
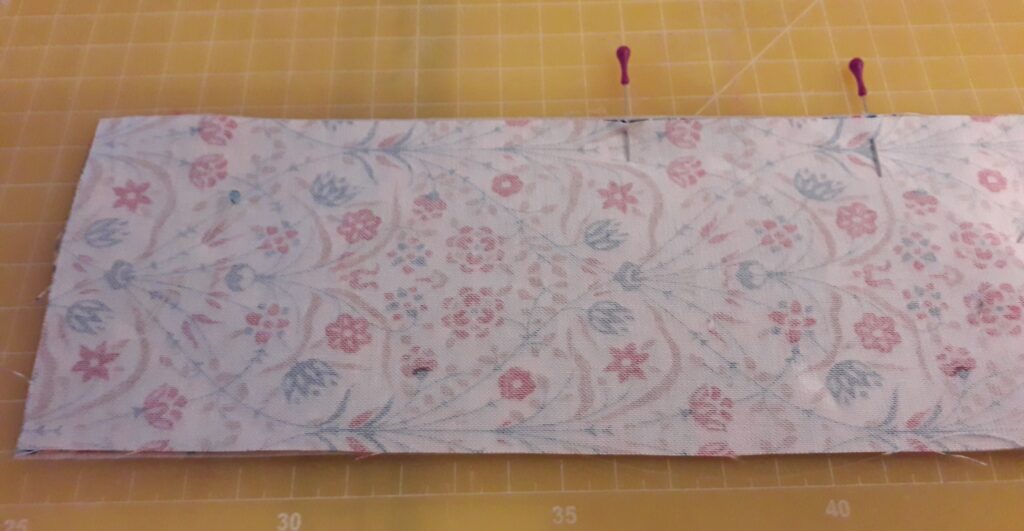
Seam allowance: 1cm or use the edge of your sewing foot if you find that easier.
Sew all around, leaving a 2″ gap unsewn for turning. Back stitch at the start and the end.
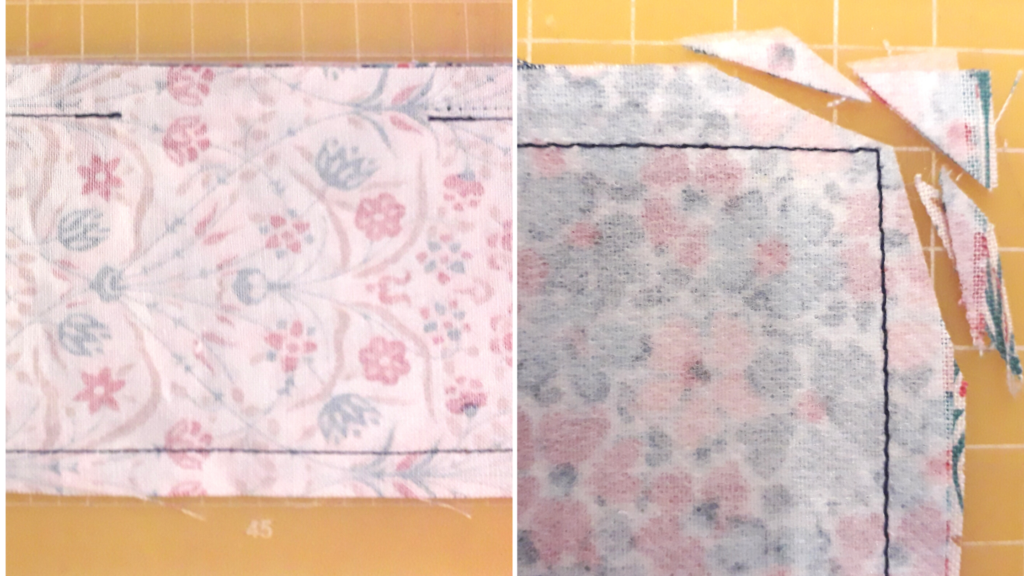
Once you’ve sewn around, clip the corners, being careful not to snip your stitches.
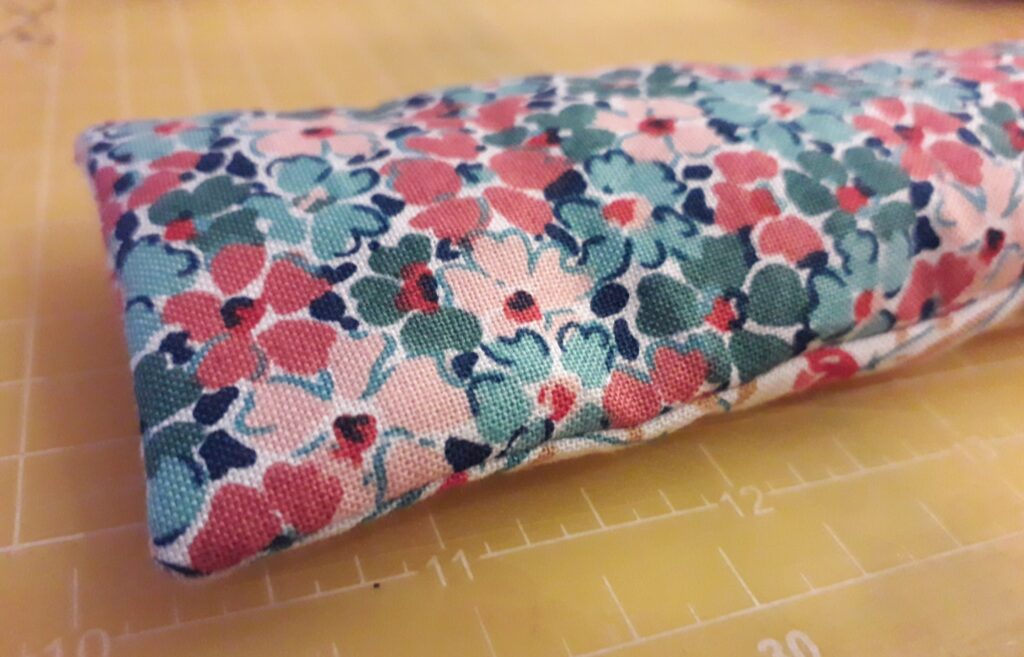
Pull your fabic through the gap, turning it to the right side. Poke out the corners, make sure the sides are out fully and the gap edges are nice an straight. There should be an even hem folded inside the gap, give it a good iron.
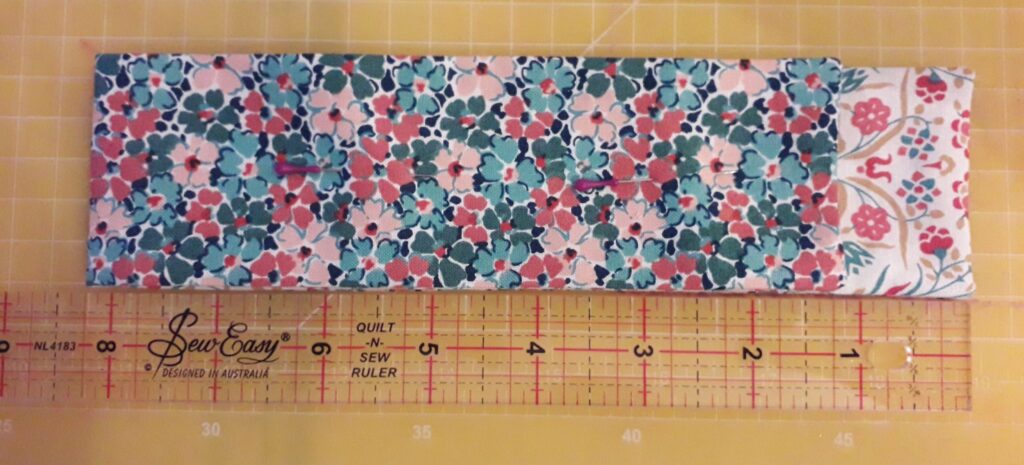
Fold the fabric to the front, so that there is a 1-1/4″ difference at the top. If your fabric has a directional pattern, ensure it is the right way up.
If you fabric is upside down, make the front longer by 1-1/4″ and flip over to the back (which will now be the front!).
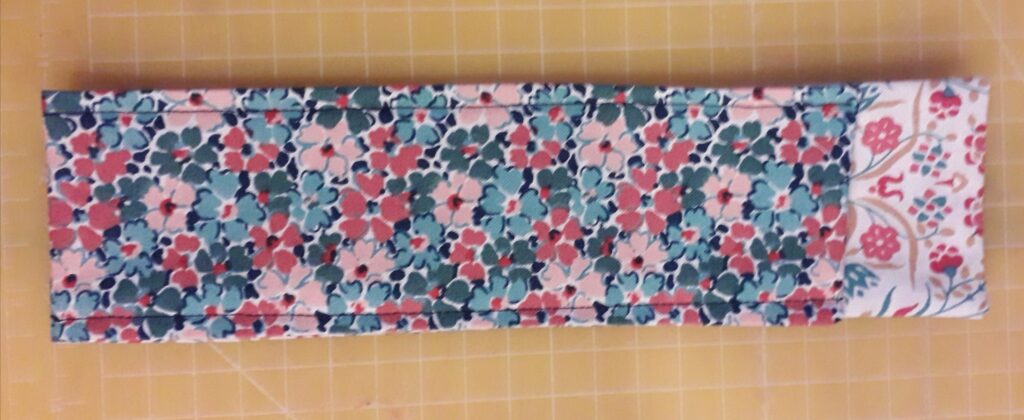
Pop couple of pins in the centre to hold and stitch, beginning at the fold each time, up the edge. Sew as close to the edge as you can, I have sewn 3mm from edge.

Tah Dah – plenty of room for a nail file and a buffer in there. However if nail files aint your thinkg then you can use if for your sewing gauge, or how about Wee Fabric Shop Pencils!
There’s even plenty of room to fold down the top and add a snap to make it a safe closure.
Fantastic little make – well done you!


